
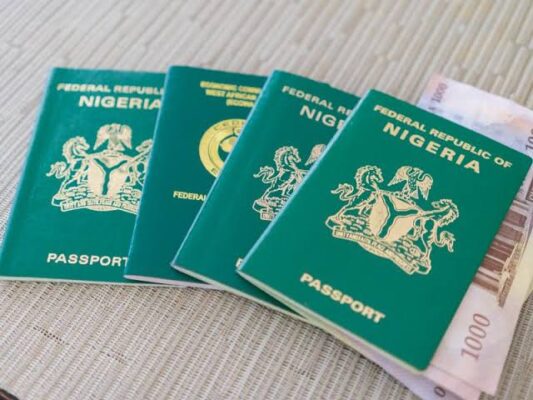
Nigerians living abroad can now renew their passports without physically visiting a Nigerian embassy or high commission for biometric enrolment, thanks to the Nigeria Immigration Service’s (NIS) Contactless Passport Application System.
Here’s a step-by-step guide to the process.
1. Visit the NIS Passport Portal
Go to the official Nigeria Immigration Service passport portal and create an account or log in.
2. Verify Your Identity
ADVERTISEMENT
Enter your National Identification Number (NIN) and date of birth to confirm your identity.
3. Start a Passport Renewal Application
Select the passport renewal option and begin a new application.
4. Complete the Application Form
Fill in all the required personal and passport information accurately.
ADVERTISEMENT
5. Upload Required Documents
Submit all supporting documents requested on the portal.
6. Review Your Application
Cross-check all the information before submitting your application.
7. Pay the Passport Booklet Fee
ADVERTISEMENT
Make payment for your preferred passport booklet through the approved payment platform.
8. Obtain Your Application ID
After payment, your Application ID and Reference Number will be generated.
9. Choose the Contactless Option
Under the Application Status/Book Appointment section, select “Opt-In for Contactless.”
ADVERTISEMENT
10. Read the Contactless Guide
Review the step-by-step instructions and click “I Understand and Opt In” to continue.
11. Download the NIS Mobile App
Install the official Nigeria Immigration Service Mobile App on your smartphone.
12. Create or Log Into Your Profile
ADVERTISEMENT
Open the app and sign in using your details or create a new profile.
13. Select Passport Application Services
On the app dashboard, click Passport Application Services.
14. Begin Biometric Enrolment
Select Passport Biometrics Enrolment, enter your Application ID and Reference Number, then click Check Eligibility.
ADVERTISEMENT
15. Capture Your Biometrics
Use your phone to capture your facial image and fingerprints as instructed.
16. Complete Liveness Verification
Carry out the facial liveness verification to confirm your identity.
17. Pay the Contactless Service Fee
ADVERTISEMENT
Complete payment for the contactless biometric service.
18. Submit Your Biometrics
Submit your biometric data electronically through the app.
19. Send Your Supporting Documents
After successful biometric submission, print your application form and payment receipts, then send them together with your current passport in a self-addressed return envelope to the Nigerian embassy or high commission you selected.
ADVERTISEMENT
20. Track Your Passport Application
About two weeks after submission, monitor the status of your application through the NIS Passport Tracking Portal or the NIS Mobile App until your new passport is ready.
Important Notice: If the system determines that you are ineligible for the contactless process, you will be required to return to the application portal and book a physical biometric appointment at your chosen Nigerian embassy or high commission.